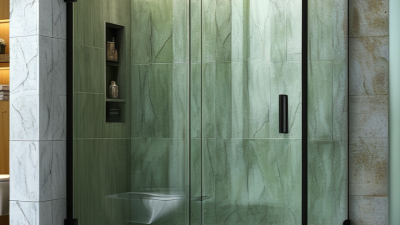
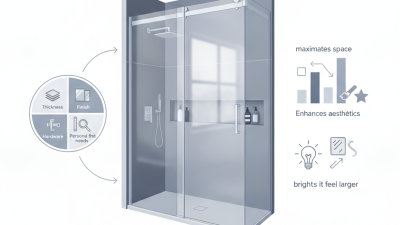
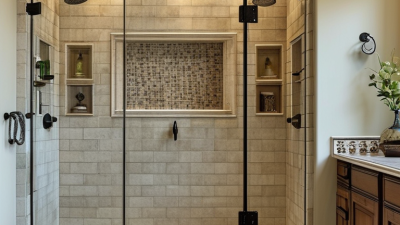
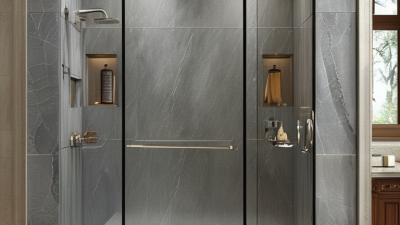
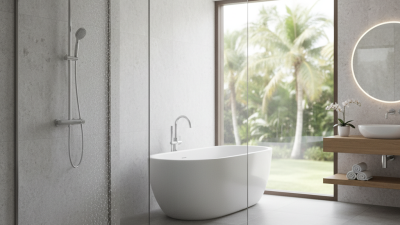
Choosing the right Shower Screen affects more than appearance. It influences water control, cleaning time, safety, and the bathroom’s visual space. Houzz’s 2024 U.S. Bathroom Trends Study shows that homeowners continue investing in upgraded bathrooms, especially durable fixtures and improved shower areas. This trend reflects a practical concern. A beautiful screen still fails if water reaches the vanity every morning.
Professional installers usually assess five details: opening size, glass thickness, door movement, frame design, and wall condition. The National Kitchen & Bath Association’s bathroom planning guidance emphasizes clearances, accessibility, and safe circulation around wet areas. These principles matter in small bathrooms. A hinged door may need a wide swing. A sliding model may save space but require careful track cleaning. Frameless glass can create a brighter room, yet it demands accurate measurement and stronger wall support.
Safety deserves direct attention. The U.S. Consumer Product Safety Commission reports thousands of bathroom-related injuries each year, making stable glass and secure hardware important choices. Tempered safety glass is widely specified for shower enclosures, but installation quality remains critical. A certified installer should check anchoring, seals, leveling, and door alignment. Small gaps become obvious after repeated showers.
There is no perfect screen. A common mistake is choosing a design from a showroom without measuring the actual bathroom. Consider daily habits, children, mobility needs, cleaning preferences, and future repairs. This guide compares practical options, not just attractive finishes. Reliable decisions come from combining manufacturer specifications, professional advice, and honest reflection about how the space will be used.
Choosing a shower screen starts with understanding how each type behaves in daily use. A framed screen has metal around every glass edge, creating strong support and a defined seal. It suits busy bathrooms and can tolerate small installation imperfections. However, its channels may collect soap residue and moisture. Regular wiping becomes necessary.
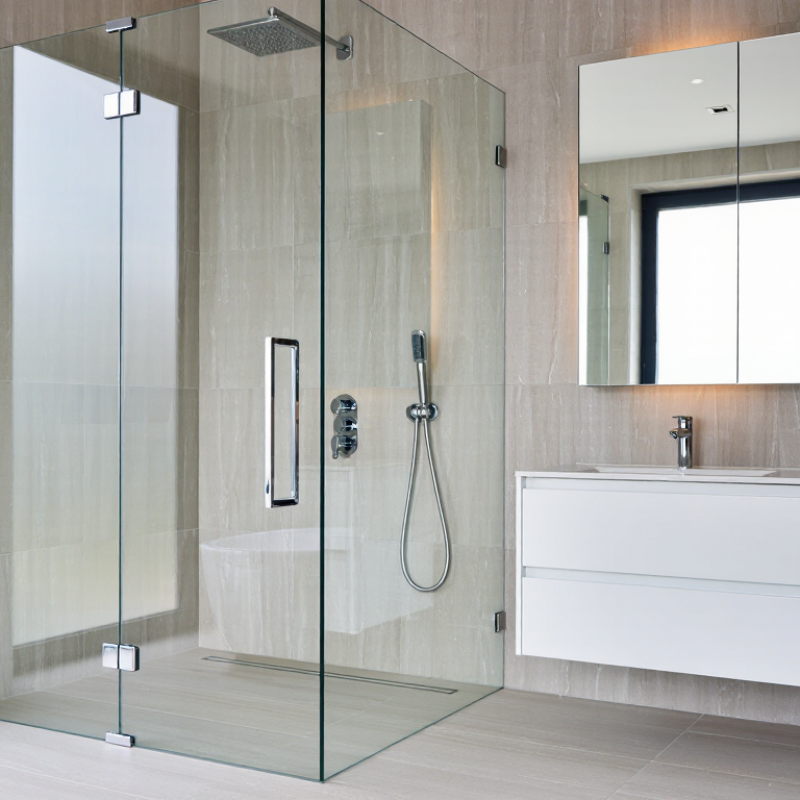
A semi-frameless screen uses less metal, usually around fixed panels and selected edges. It offers a lighter appearance while retaining useful stability. A fully frameless screen uses thick, toughened safety glass with minimal hardware. It makes a small bathroom feel more open and allows light to travel across the room. Yet, it demands accurate wall measurements and careful installation.
I once assumed frameless always meant better. That was too simple. Water control depends more on panel placement, seals, and floor slope than on appearance.
Door movement creates another important difference. Sliding screens save space and work well beside toilets or narrow vanities. Pivot doors need a clear swing area but are often easier to clean around. Fixed panels provide the simplest design, although they may not contain spray from a powerful shower. Clear glass shows water marks quickly, while textured or frosted glass offers more privacy and hides minor deposits. Check the glass thickness, hardware quality, drainage direction, and access width before ordering. A screen can look perfect in a showroom, yet feel awkward when a wet door opens toward a towel rail.
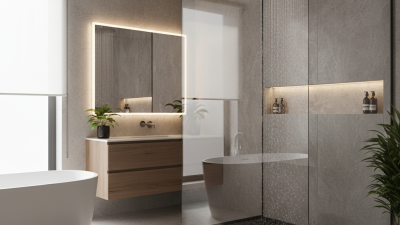
Choosing a shower screen starts with the room, not the glass. Measure width, depth, ceiling height, and every fixed fitting. Record measurements at floor level and shoulder height. Walls can taper slightly. That small difference matters when panels meet. A simple sketch often reveals problems that photographs hide. Leave clear access to the shower, toilet, and vanity. A beautiful screen becomes frustrating if its door strikes a cabinet.
For a compact bathroom, a sliding screen or fixed panel may preserve valuable floor space. Hinged doors need a safe arc, usually extending into a dry area. Mark that arc with masking tape before ordering. It is a practical test, though not perfect. Check the showerhead direction too. Water should stay inside the wet zone, especially near door gaps. If plumbing is close to a corner, confirm the screen will not block maintenance access. I have seen layouts where a few extra centimetres would have prevented awkward cleaning.
Consider who uses the bathroom daily. A wider opening can help children, older adults, or anyone carrying laundry. Keep the entry easy to see and free from raised thresholds where possible. Ventilation also affects the layout; trapped moisture can collect around seals and corners. For uneven walls, an adjustable profile may fit better than a rigid panel. Ask a qualified installer to verify the substrate, levels, and fixing points. Home measurements help, but they are not a substitute for an on-site check. Reconsider the plan after marking everything full-size. Empty space feels different once the door, basin, and towel rail are all present.
| Bathroom Layout | Typical Available Space | Recommended Shower Screen | Door Configuration | Planning Clearance | Best Design Advantage | Important Considerations |
|---|---|---|---|---|---|---|
| Alcove or Recessed Shower | Three enclosed walls with a front opening; common widths range from 800–1200 mm. | Framed or semi-frameless front screen | Sliding, pivot, hinged, or folding door | At least 600 mm in front of the entrance | Uses the existing recess efficiently and provides strong water containment. | Measure the opening at the top, middle, and bottom because walls may not be perfectly parallel. |
| Corner Shower | Two walls meet at a corner; practical footprints commonly start at approximately 800 × 800 mm. | Quadrant, square, or corner-entry screen | Sliding or folding doors are useful where circulation is limited. | Keep approximately 600 mm clear outside the entry where possible. | Fits efficiently into unused corner space while leaving the rest of the bathroom open. | Check nearby vanity, toilet, radiator, and towel rail positions before selecting the door swing. |
| Small or Narrow Bathroom | Limited floor area with fixtures positioned close together. | Sliding, folding, or fixed-panel screen | Avoid outward-swinging hinged doors when they obstruct a walkway or fixture. | Maintain a clear, unobstructed access route. | Reduces door-swing conflicts and makes the room feel less crowded. | Use accurate clearance checks around the toilet and basin; a compact screen does not replace safe access space. |
| Large Open Bathroom | Generous floor area with sufficient distance between the shower and other fixtures. | Single fixed panel or walk-in screen | No door, or a wide hinged panel if extra splash control is needed. | Allow a comfortable dry-zone walkway beyond the splash area. | Creates an open, modern appearance and provides easy step-free access. | Confirm that the panel length and showerhead direction limit water escaping into the room. |
| Walk-In Shower | Open-entry shower area, often designed with one or two fixed panels. | Fixed frameless or semi-frameless panel | Open entry without a moving door | A wider entry improves access but may increase splash exposure. | Easy to clean, visually spacious, and suitable for accessible bathroom planning. | Position the showerhead away from the opening and provide adequate fall toward the drain. |
| Bath-and-Shower Combination | Shower installed above a bathtub, with the bath forming the shower base. | Bath screen or folding bath screen | Fixed, hinged, or multi-panel folding arrangement | Allow safe, unobstructed entry beside the bath. | Separates the wet area without sacrificing bathtub functionality. | Check the bath rim width, wall alignment, tap position, and seal condition before installation. |
| Irregular or Out-of-Square Room | Walls or corners are angled, recessed, or uneven. | Made-to-measure screen or adjustable wall profile | Choose the door type after confirming the exact opening shape. | Verify the smallest finished opening measurement. | Adapts to unusual architecture and can improve sealing around uneven walls. | Take measurements after tiling is complete and account for wall plumb, floor level, and tile thickness. |
| Accessible or Future-Proof Bathroom | Generous entry and turning space planned around the shower area. | Wide walk-in screen or minimal-threshold enclosure | Open entry or outward-safe door arrangement | Follow applicable local accessibility and building requirements. | Improves ease of entry and allows greater flexibility for changing mobility needs. | Coordinate the screen with grab rails, seating, drainage, slip-resistant flooring, and water control. |
Measurements are general planning guidelines, not a substitute for a site survey. Always check local building regulations, manufacturer installation requirements, finished wall dimensions, door-swing clearance, and drainage before ordering a shower screen.
Clear glass creates an open, bright bathroom and makes small spaces feel larger. It also shows every water mark. In my own experience, a squeegee beside the shower reduces cleaning time, but it does not remove the need for regular care. Frosted or textured glass provides more privacy, although its surface may collect soap residue. Safety-rated tempered glass is essential, and its thickness should match the installation system and local requirements.
Framed screens use metal profiles around the glass edges. They usually offer stronger visual definition and can help conceal uneven wall surfaces. However, frames include joints where moisture and residue may gather. Frameless designs look cleaner and depend more heavily on accurate measurements, strong wall fixing, and suitable seals. A small installation error can cause leaks. That detail is easy to underestimate.
Door design affects daily comfort more than many people expect. Hinged doors need clear floor space and should open safely without striking nearby fixtures. Sliding doors suit compact bathrooms, but their tracks require careful cleaning. Pivot doors can feel spacious, though their swing direction must be planned before installation. I once preferred a frameless hinged door for its appearance, then reconsidered after measuring the narrow entry. An experienced installer should check wall levels, drainage, ventilation, and access needs before recommending the final configuration. There is no perfect option. Practical fit matters most.
Choosing the right shower screen begins with safety, but safety is more than glass thickness. Look for toughened safety glass with clear test information from a reliable supplier. The edges should be smoothly finished, and the frame must feel rigid when gently pushed. A secure screen should not wobble, scrape, or leave sharp exposed fittings. Professional installation matters too. Even excellent glass can fail when the wall is uneven or the hinges are poorly aligned.
Cleaning needs become obvious after a few weeks. Smooth glass is easier to maintain than heavily grooved surfaces. Fewer joints also mean fewer places for soap residue and mould to collect. Check the seals carefully. They should sit tightly against the floor and glass without blocking drainage. A squeegee after each shower can reduce water spots, although it is easy to forget. I have learned that “low maintenance” never means maintenance-free.
Tips: Choose corrosion-resistant hardware, especially in damp bathrooms. Open and close the door several times before accepting the installation. Check for dripping seals and difficult corners. Consider replacement parts, because small rollers and seals eventually wear out. A screen that looks beautiful today may become frustrating if its fittings are difficult to service. Durability should be judged by daily use, not appearance alone.
A shower screen budget should include installation, not only the glass and fittings. A framed screen often costs less because its structure hides small wall irregularities. Frameless glass looks cleaner, but it demands accurate measurements and stronger fixing points. Even a slight floor slope can create a visible gap beneath the panel. Measure the opening at several heights, especially in older bathrooms.
Installation conditions can change the final price quickly. Tiled walls may conceal uneven surfaces, loose boards, or outdated waterproofing. An experienced installer should check these areas before ordering glass. Ask whether drilling into tiles, reinforcing studs, or removing existing seals is included. Confirm local safety and building requirements as well. These details are easy to overlook.
DIY installation may suit a simple, framed design and a level enclosure. Heavy glass panels are less forgiving, though. They need careful handling, suitable anchors, and correct silicone curing time. I once underestimated the time needed to clean old sealant, and the project ran far beyond schedule. That mistake changed my view of “saving money.” Leave room for unexpected repairs, but do not accept vague charges. A written installation scope, accurate measurements, and clear material specifications make the budget more dependable. Forgoing a professional check can be costly.